How to remove tile floor in 4 simple steps


Learn how to remove tile flooring with our easy to follow step-by-step guide. ✓ Get tips on tools, safety, and clean-up to make your DIY project a success.
Level of difficulty: Beginner-Intermediate
Time to complete: 1-2 days
Taking on a tile removal project can feel like a big task, but with a little planning and the right approach, it’s totally doable. Whether you’re tackling a kitchen, bathroom, or any other room, removing tile flooring is a great way to start fresh and give your space a whole new look. In this guide, we’ll walk you through the step-by-step process of removing tile floor, providing tips and tricks to make the process smoother–and even a little fun!
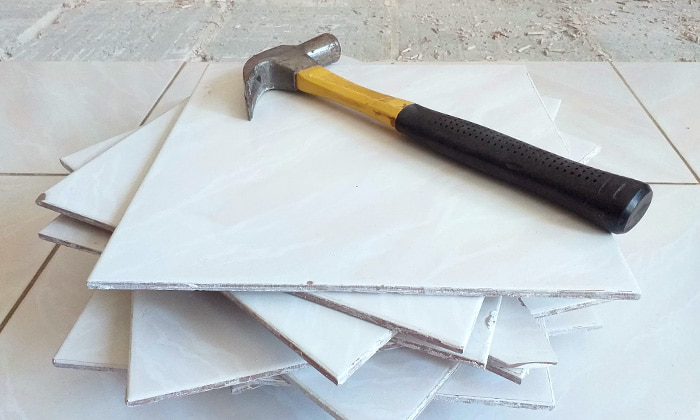
Tools and materials needed for tile removal
Before you dive into the project, you’ll want to make sure you have the right tools for the job. Here’s what you’ll need to get started:
- Hammer: To break tiles and loosen them from the floor.
- Chisel: Helps pry up the tiles once they’re loosened.
- Pry bar: This makes it easier to remove tiles that are stuck or hard to lift.
- Floor scraper: A power tool that can save you tons of time when removing tiles, especially from large areas.
- Safety goggles and gloves: These will protect your eyes and hands from sharp edges and debris.
- Dust mask: A must-have for keeping dust and particles out of your lungs.
- Shop vacuum: To quickly clean up dust and small debris as you work.
- Chemical adhesive remover: Helps break down any leftover glue or mortar.
- Bucket: For mixing cleaning solutions or collecting waste.
Pro tip: If you don’t have all the tools on hand, consider renting them! If this is a one-time project, renting makes more sense, but it might be worth purchasing the tools if you plan to do more DIY work.
Step 1: Prepare the area for tile removal
Getting the space ready is just as important as the actual tile removal. A little prep goes a long way in making sure your project goes smoothly and efficiently. Here’s how to get started:
- Clear the room: Move out all furniture, rugs, and other items to create a clean, open workspace.
- Cover vents and openings: Seal off vents, doors, and windows to prevent dust from traveling to other parts of your home.
- Remove baseboards: Gently take off any baseboards or trim around the room to avoid damaging them while removing tiles.
- Protect the floor: Lay down a tarp or plastic sheeting to keep the subfloor in good condition, especially if you're planning to reuse it.
Taking the time to prepare ensures you’ll be able to work safely and effectively while minimizing the mess and hassle.
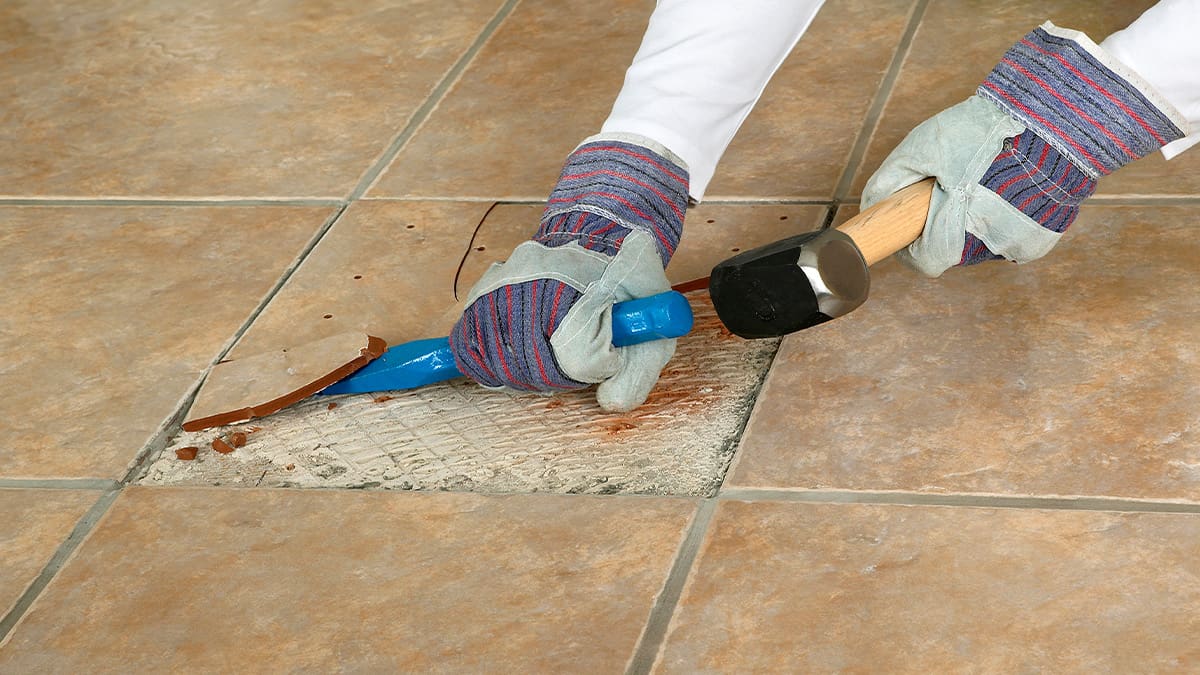
Step 2: Remove the tile floor
Once your space is ready, it’s time to get to work on removing the tiles. This process can be done by hand or with the help of power tools. Let’s break it down:
- Start with a corner: Begin at one corner of the room and use your hammer and chisel to gently tap and loosen the first tile.
- Use a pry bar: Once the first tile is up, grab your pry bar to lift the tile out. Don’t worry if it breaks—just keep working your way through the area.
- Consider power tools: If you’re dealing with a large area or stubborn tiles, a floor scraper or rotary hammer can make things a lot easier and faster.
- Handle stubborn tiles: If any tiles are really stuck, score the surface with a utility knife to weaken them before you pry them up.
Pro tip: Take your time and work in smaller sections. It might require some patience, but it’s well worth it for a job well done!
Step 3: Remove adhesive and mortar residue
Once the tiles are gone, you’ll need to deal with any leftover adhesive or mortar. A clean subfloor is essential if you plan on installing new flooring, so let’s tackle this step carefully.
Scraping off mortar
Use a floor scraper or a hand chisel to remove any mortar that’s left behind. Start from the edges and work your way in, scraping it off in manageable sections.
Using adhesive remover
If scraping doesn’t get everything, you can use a chemical adhesive remover. Apply the remover according to the instructions, and then scrape the softened adhesive away.
Ensuring a smooth surface
Take a moment to inspect your subfloor. If it’s damaged or uneven, you can use a leveling compound to smooth it out. If the floor is made of wood, you may need to grind down high spots and fill in low areas.
Pro tip: The cleaner and smoother your surface, the easier it will be to lay down new flooring, so don’t skip this step!
Step 4: Clean up debris from tile removal
Cleaning up after the tile removal is a crucial step in the process. Here’s how to wrap up your project with ease:
- Vacuum the area: Use a shop vacuum to suck up smaller debris and dust. This will make the area clean and ready for the next phase.
- Dispose of the tile: Tiles and debris can be heavy, so be sure to use heavy-duty trash bags for disposal.
- Inspect the subfloor: Before you install your new flooring, double-check the subfloor for any damage or imperfections. If needed, make repairs to ensure a smooth surface for your new floor.
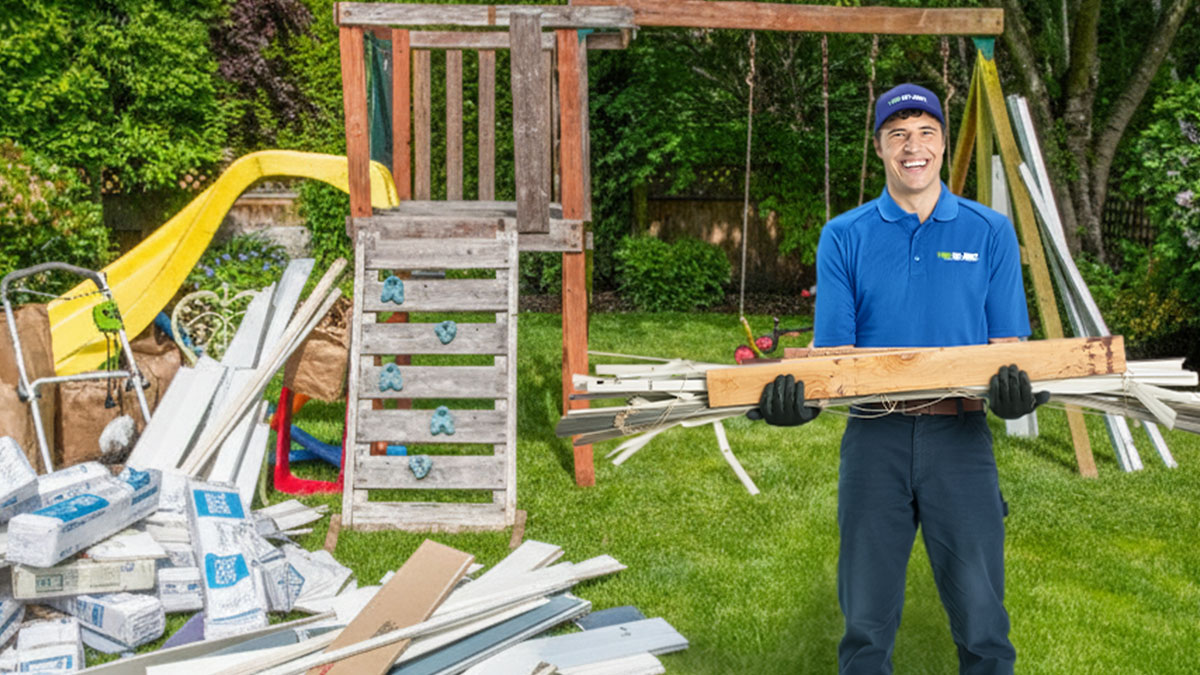
Pro tip: Cleaning up doesn’t have to be stressful. If you’d rather leave the hauling to the pros, 1-800-GOT-JUNK? is here to help with tile removal and cleanup.
Safety tips for removing tile
Tile removal comes with a few safety considerations, but with the right precautions, you’ll be good to go. Here are some essential safety tips:
- Wear protective gear: Always wear safety goggles, gloves, and a dust mask to protect yourself from flying debris and dust.
- Ventilate the area: Make sure the room is well-ventilated to avoid inhaling dust or fumes.
- Take breaks: Tile removal can be physically demanding, so take breaks when you need to rest. You’ll work better and avoid fatigue.
- Be mindful of sharp edges: Tiles can break into sharp pieces, so be careful while handling them.
We take all kinds of junk
You’ve done the hard work of removing the tiles, and now it’s time to move on to the next phase of your renovation! But what about all that debris? Don’t worry, we’ve got you covered.
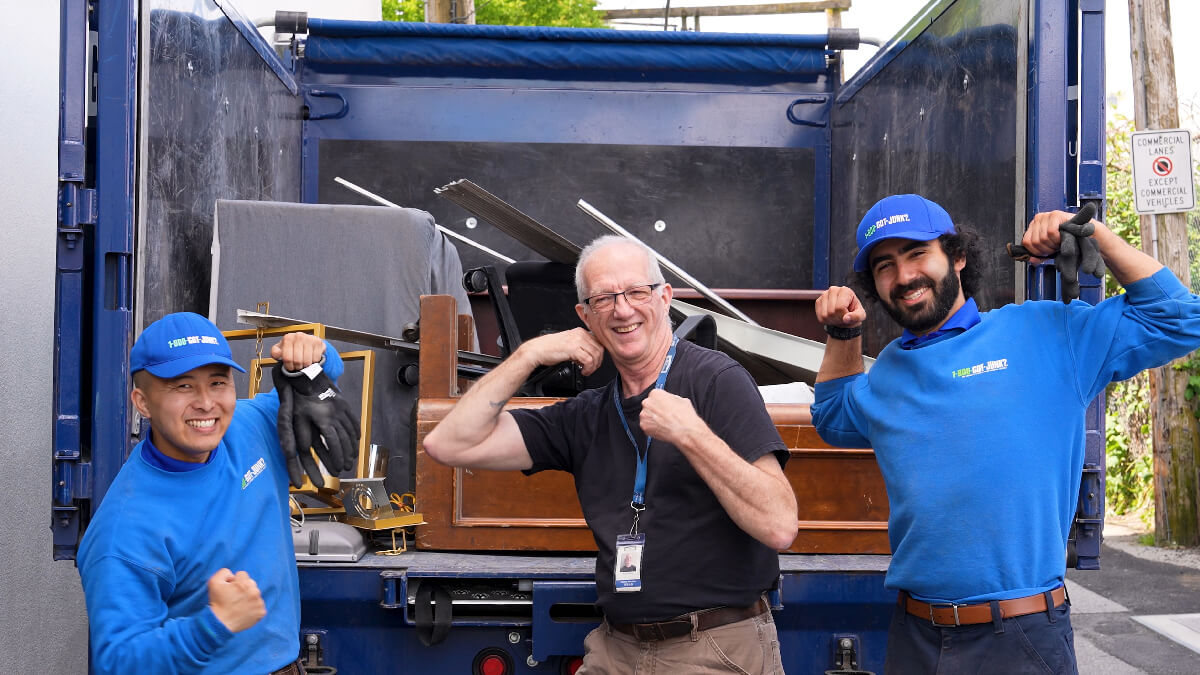
At 1-800-GOT-JUNK?, we make junk disappear—whether it’s old tiles, renovation debris, or anything else you need to be hauled away. Just give us a call at 1-800-468-5865 or book now online, and we’ll take care of the heavy lifting.
To learn more about our junk removal costs, visit our pricing for junk removal page. Wondering if we offer junk removal near you? We provide junk removal services across the United States, Canada, and Australia!
Book now to schedule your junk removal pickup today! We’re ready to help you tackle your next project and make your space beautiful again.
Frequently asked questions
We price based on how much space your items take up in the back of our truck, broken down into ⅛, ¼, ½, ¾ of a truckload, all the way up to a full truckload. Our trucks hold the equivalent of seven pickup trucks.
Our prices vary based on location and there is a minimum charge for our teams to remove your items, which is different in each location, based on a number of factors, including local disposal and recycling fees.
We offer single item pricing for certain items such as mattresses or TVs, sometimes this will be less than our minimum charge.
For materials that have a heavy cubic weight like dirt, concrete, and gravel, pricing is based on the total volume that the material takes up in the truck, up to a maximum of one foot in height for a full truck.
Watch us load up a truck to see how our standard pricing works!
If you need service weekly, monthly, or quarterly, we offer bulk pricing discounts. This gives you better value compared to common alternatives, such as dumpsters or less professional junk removal services.
Interested? Call our business account team at 1-888-475-3461 to discuss your needs as well as pricing options.
On the day of your appointment with us, our friendly, uniformed truck team members will give you a call or text 15-30 mins before we arrive to let you know we’re on our way.
Whether your business has a single location or multiple locations, we can create a custom junk removal solution that works for you. We can coordinate pickups at multiple locations at a local, regional, and national level. Rather than work with dozens of regional or local companies, let 1-800-GOT-JUNK? handle the jobs across all your locations.
Absolutely! We take large items all the time. As long as it can be lifted and loaded into the truck by two people, we'll be happy to take it away for you!
We work with all types of businesses and can handle any type of job - cleanouts, bulk item removal, general junk removal and even specific items like cardboard or pallets. We can take pretty much anything as long as it's not toxic or hazardous. We can remove your items from wherever they’re located, whether it’s your office, store, site or anywhere else—all you have to do is point!
Yes, we're fully licensed, bonded and insured! We have insurance covering damages to both persons and property for every single booking.
While we don't quite service the entire map, we cover almost every greater metropolitan area across the US, Canada, and Australia. To see if we’re in your neighborhood, you can start a booking by entering your zip code here.
Our customer service center is open 24/7, so we’re here whenever you need us! While operating hours may vary in our franchise locations, we offer same-day and off-hours service, including weekends.
Similar articles
Making space for the Vancouver Japanese Language School’s 120th anniversary
Ahead of its 120th anniversary, the historic Vancouver Japanese Language School is preparing for an exciting new chapter. Discover how our team stepped in to help tackle the junk, preserving history while making space for the future.