A step-by-step guide
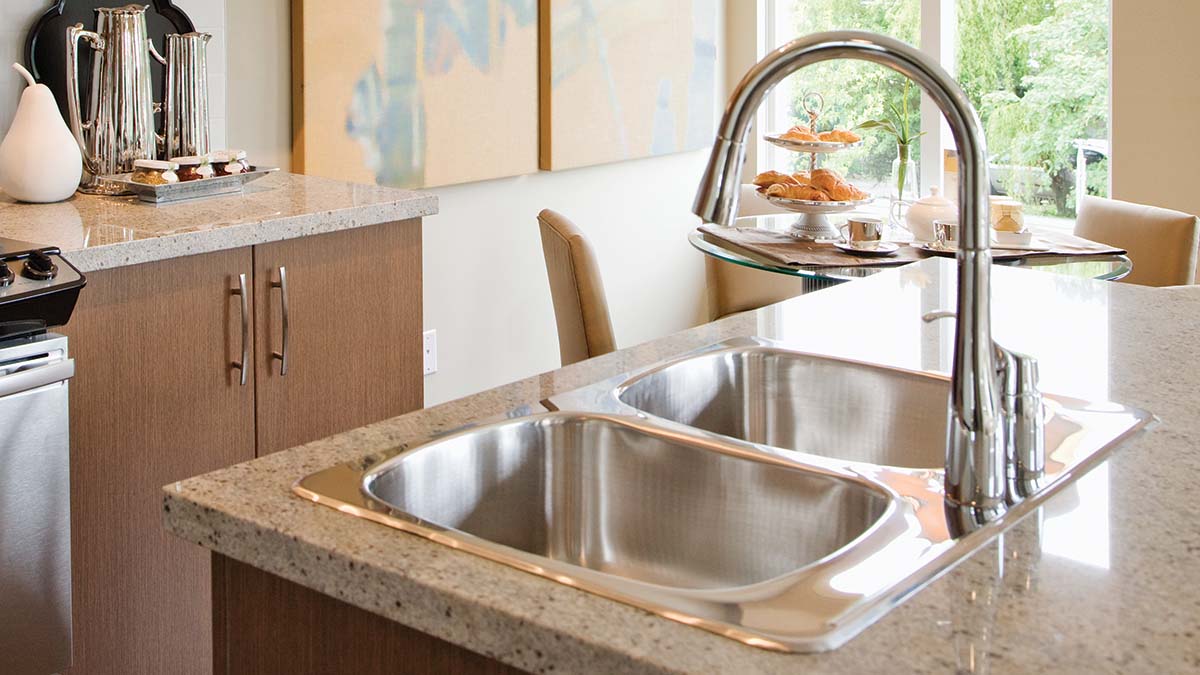
Removing a kitchen sink on your own is possible with the right tools and a clear step-by-step approach. Whether you’re replacing an old sink or upgrading your kitchen, knowing how to remove a kitchen sink properly will make the process smooth and stress-free. Follow this guide to ensure safe and effective kitchen sink removal.
What you’ll need
Before starting, gather the following tools and materials:
|
|
|
|
|
|
|
|
|
|
|
|
1. Turn off the water line
The first and most important step is to turn off the water supply. Locate the shutoff valves under the sink and turn them clockwise to close them. If you can’t find them, turn off the main water supply to your home.
2. Disconnect the drainpipe
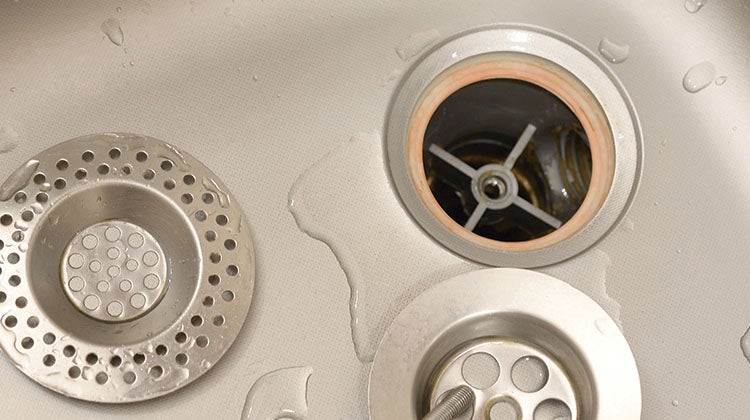
Place a bucket or towel under the drainpipe to catch any excess water. Use a wrench or pliers to loosen the slip nuts connecting the sink’s drainpipe to the plumbing system. Carefully remove the pipes and let any remaining water drain into the bucket.
3. Turn off the garbage disposal
If your sink has a garbage disposal, make sure to disconnect it before removing the sink. First, unplug it or turn off the breaker. Then, detach the disposal from the drainpipe and mounting bracket. Set the unit aside safely.
4. Loosen sink clips
Most sinks are secured to the countertop with metal clips underneath. Use a handy tool like a screwdriver or wrench to loosen the clips. Be sure to check for any hidden fasteners before proceeding.
5. Cut through the sealant
The sink is sealed to the countertop with caulk or adhesive. Use a utility knife to carefully cut along the edges of the sink to break the seal. Be cautious to avoid damaging the countertop.
6. Detach the sink
Once the sealant is cut, reach underneath the sink and push up gently to loosen it. If the sink is still stuck, use a putty knife to help pry it free. Lift the sink out carefully and set it aside.
7. Get rid of any residue
Old caulk, debris, and adhesive may remain on the countertop. Use a putty knife and caulk remover to clean the area thoroughly. Wipe down the surface with a sponge or rag.
8. Clean the surrounding area
Now that the sink is removed, take time to clean the countertop and surrounding space. If you need help disposing of your old sink and materials, consider contacting a professional junk removal service like 1-800-GOT-JUNK?.
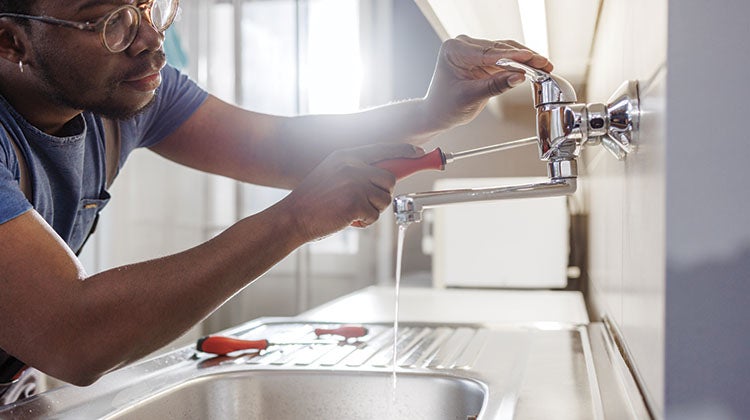
Tips for expert kitchen sink removal:
Turn off water first – Always shut off the water supply before starting.
Have a bucket ready – Catch any remaining water in the pipes to prevent spills.
Label connections – Take pictures or label pipes to make reinstallation easier.
Use penetrating oil – Loosen stubborn nuts and bolts with WD-40 or similar lubricant.
Cut caulk carefully – Use a utility knife to avoid damaging the countertop.
Disconnect garbage disposal first – If present, remove it before lifting the sink.
Protect the countertop – Place a towel or cardboard underneath to avoid scratches.
Work with a helper – Sinks can be heavy; having assistance can prevent accidents.
Check for hidden clips – Ensure all mounting clips and fasteners are removed before lifting.
Clean the area thoroughly – Remove old caulk, debris, and water stains before installing a new sink.
